
OUR PROCESS
SelfBuild makes it easy
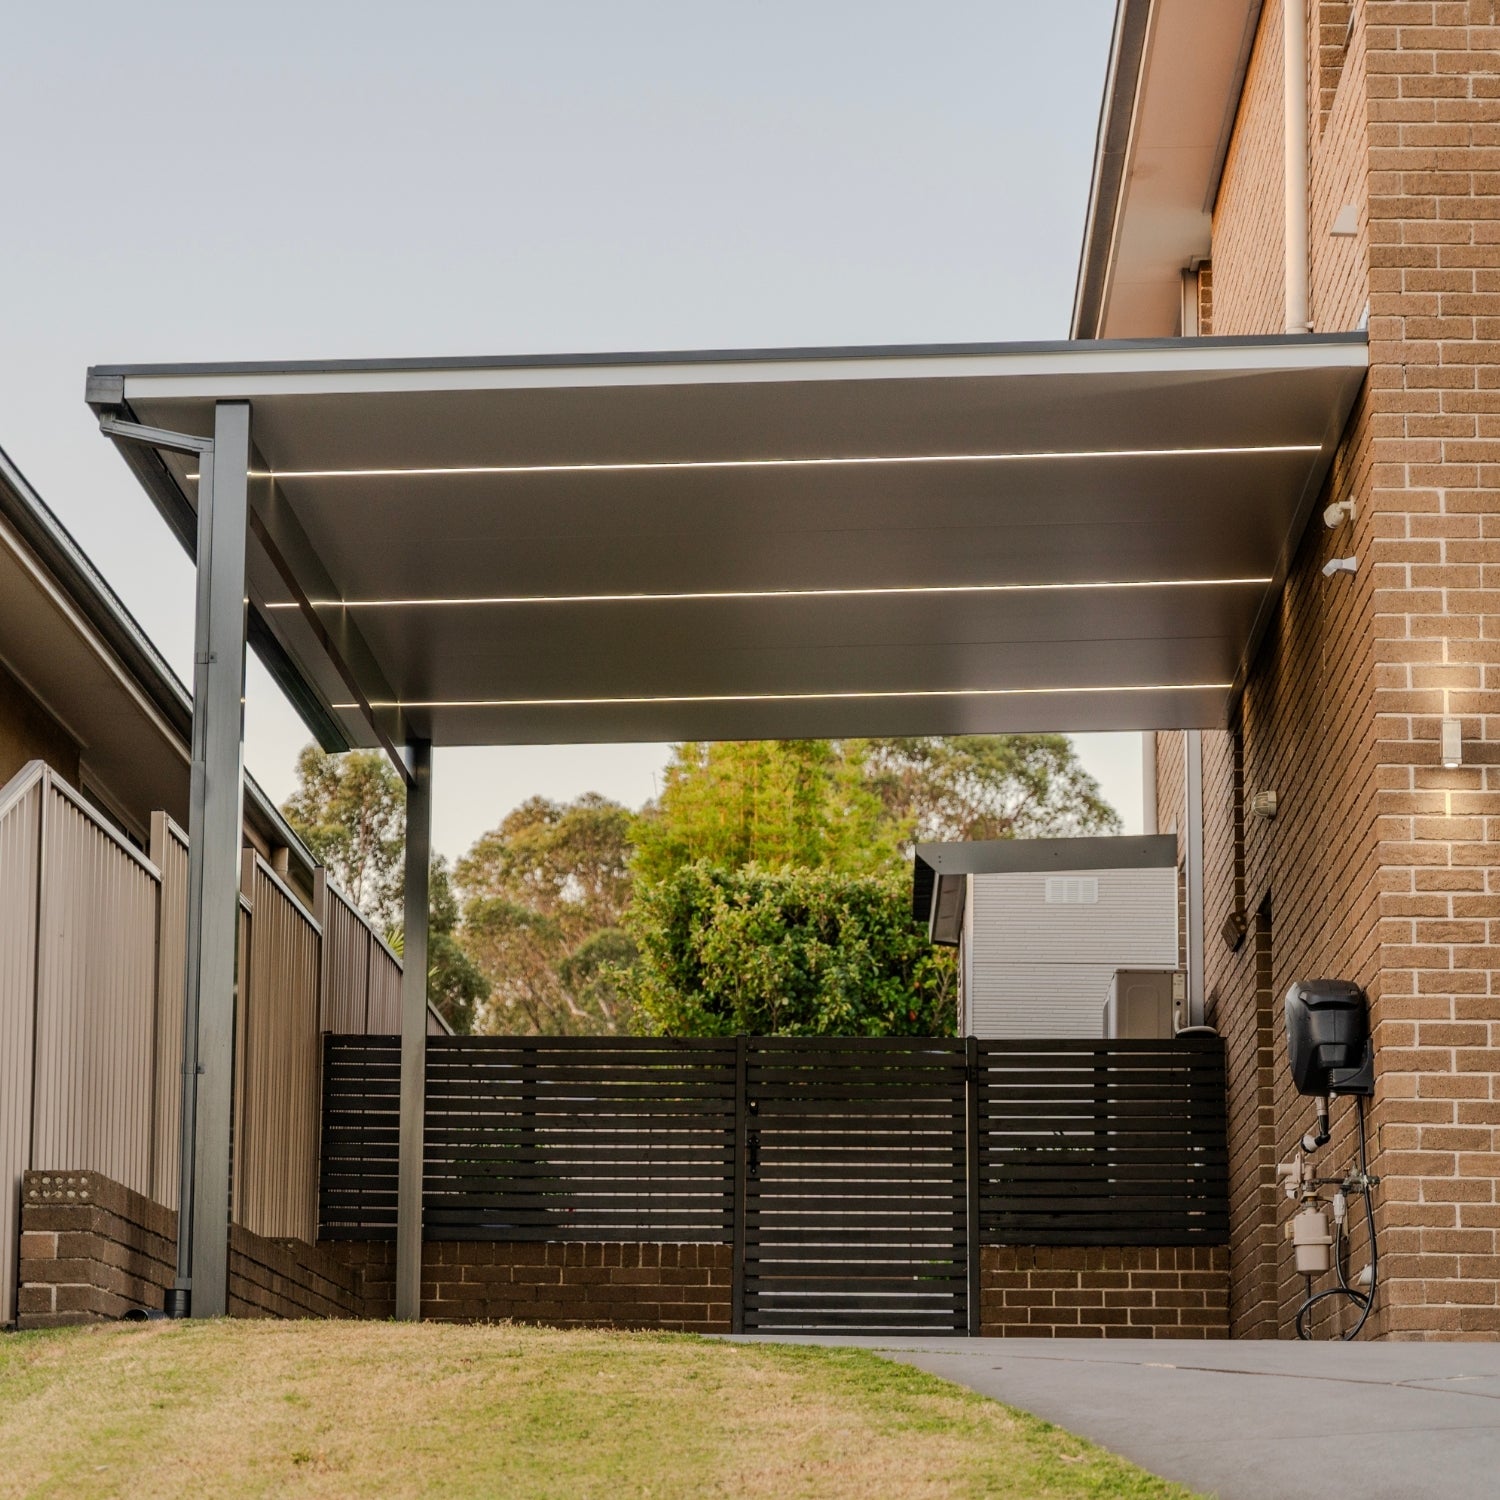
Securing your new patio has never been easier. Our streamlined process ensures the right kit, the right fit and the confidence to install it yourself. From measuring your space, placing your order and self-installing, our team is available to support you as required at every step. See below for step-by-step guide to receive your new SelfBuild Patio.
SelfBuild
OUR PROCESS
1. Measure Your Space
Start by measuring the area where you’d like your patio installed. When doing so, please note the definitions of width and length:
Width: This is the width along the house
Length: This is the length of the panels, and therefore how far from the house your structure will extend
We recommend you read our detailed measuring guide, which will provide important information to consider, including site requirements, front and side cantilever and post placements, as well as allowances to consider for gutters and flashings.
2. Choose Your Kit & Upgrades
Now that you know what size is available in your space, it’s time to choose your SelfBuild patio. Start by selecting your desired roof panel profile and colours; and use our easy-to-use size slider to filter to the size that suits your space.
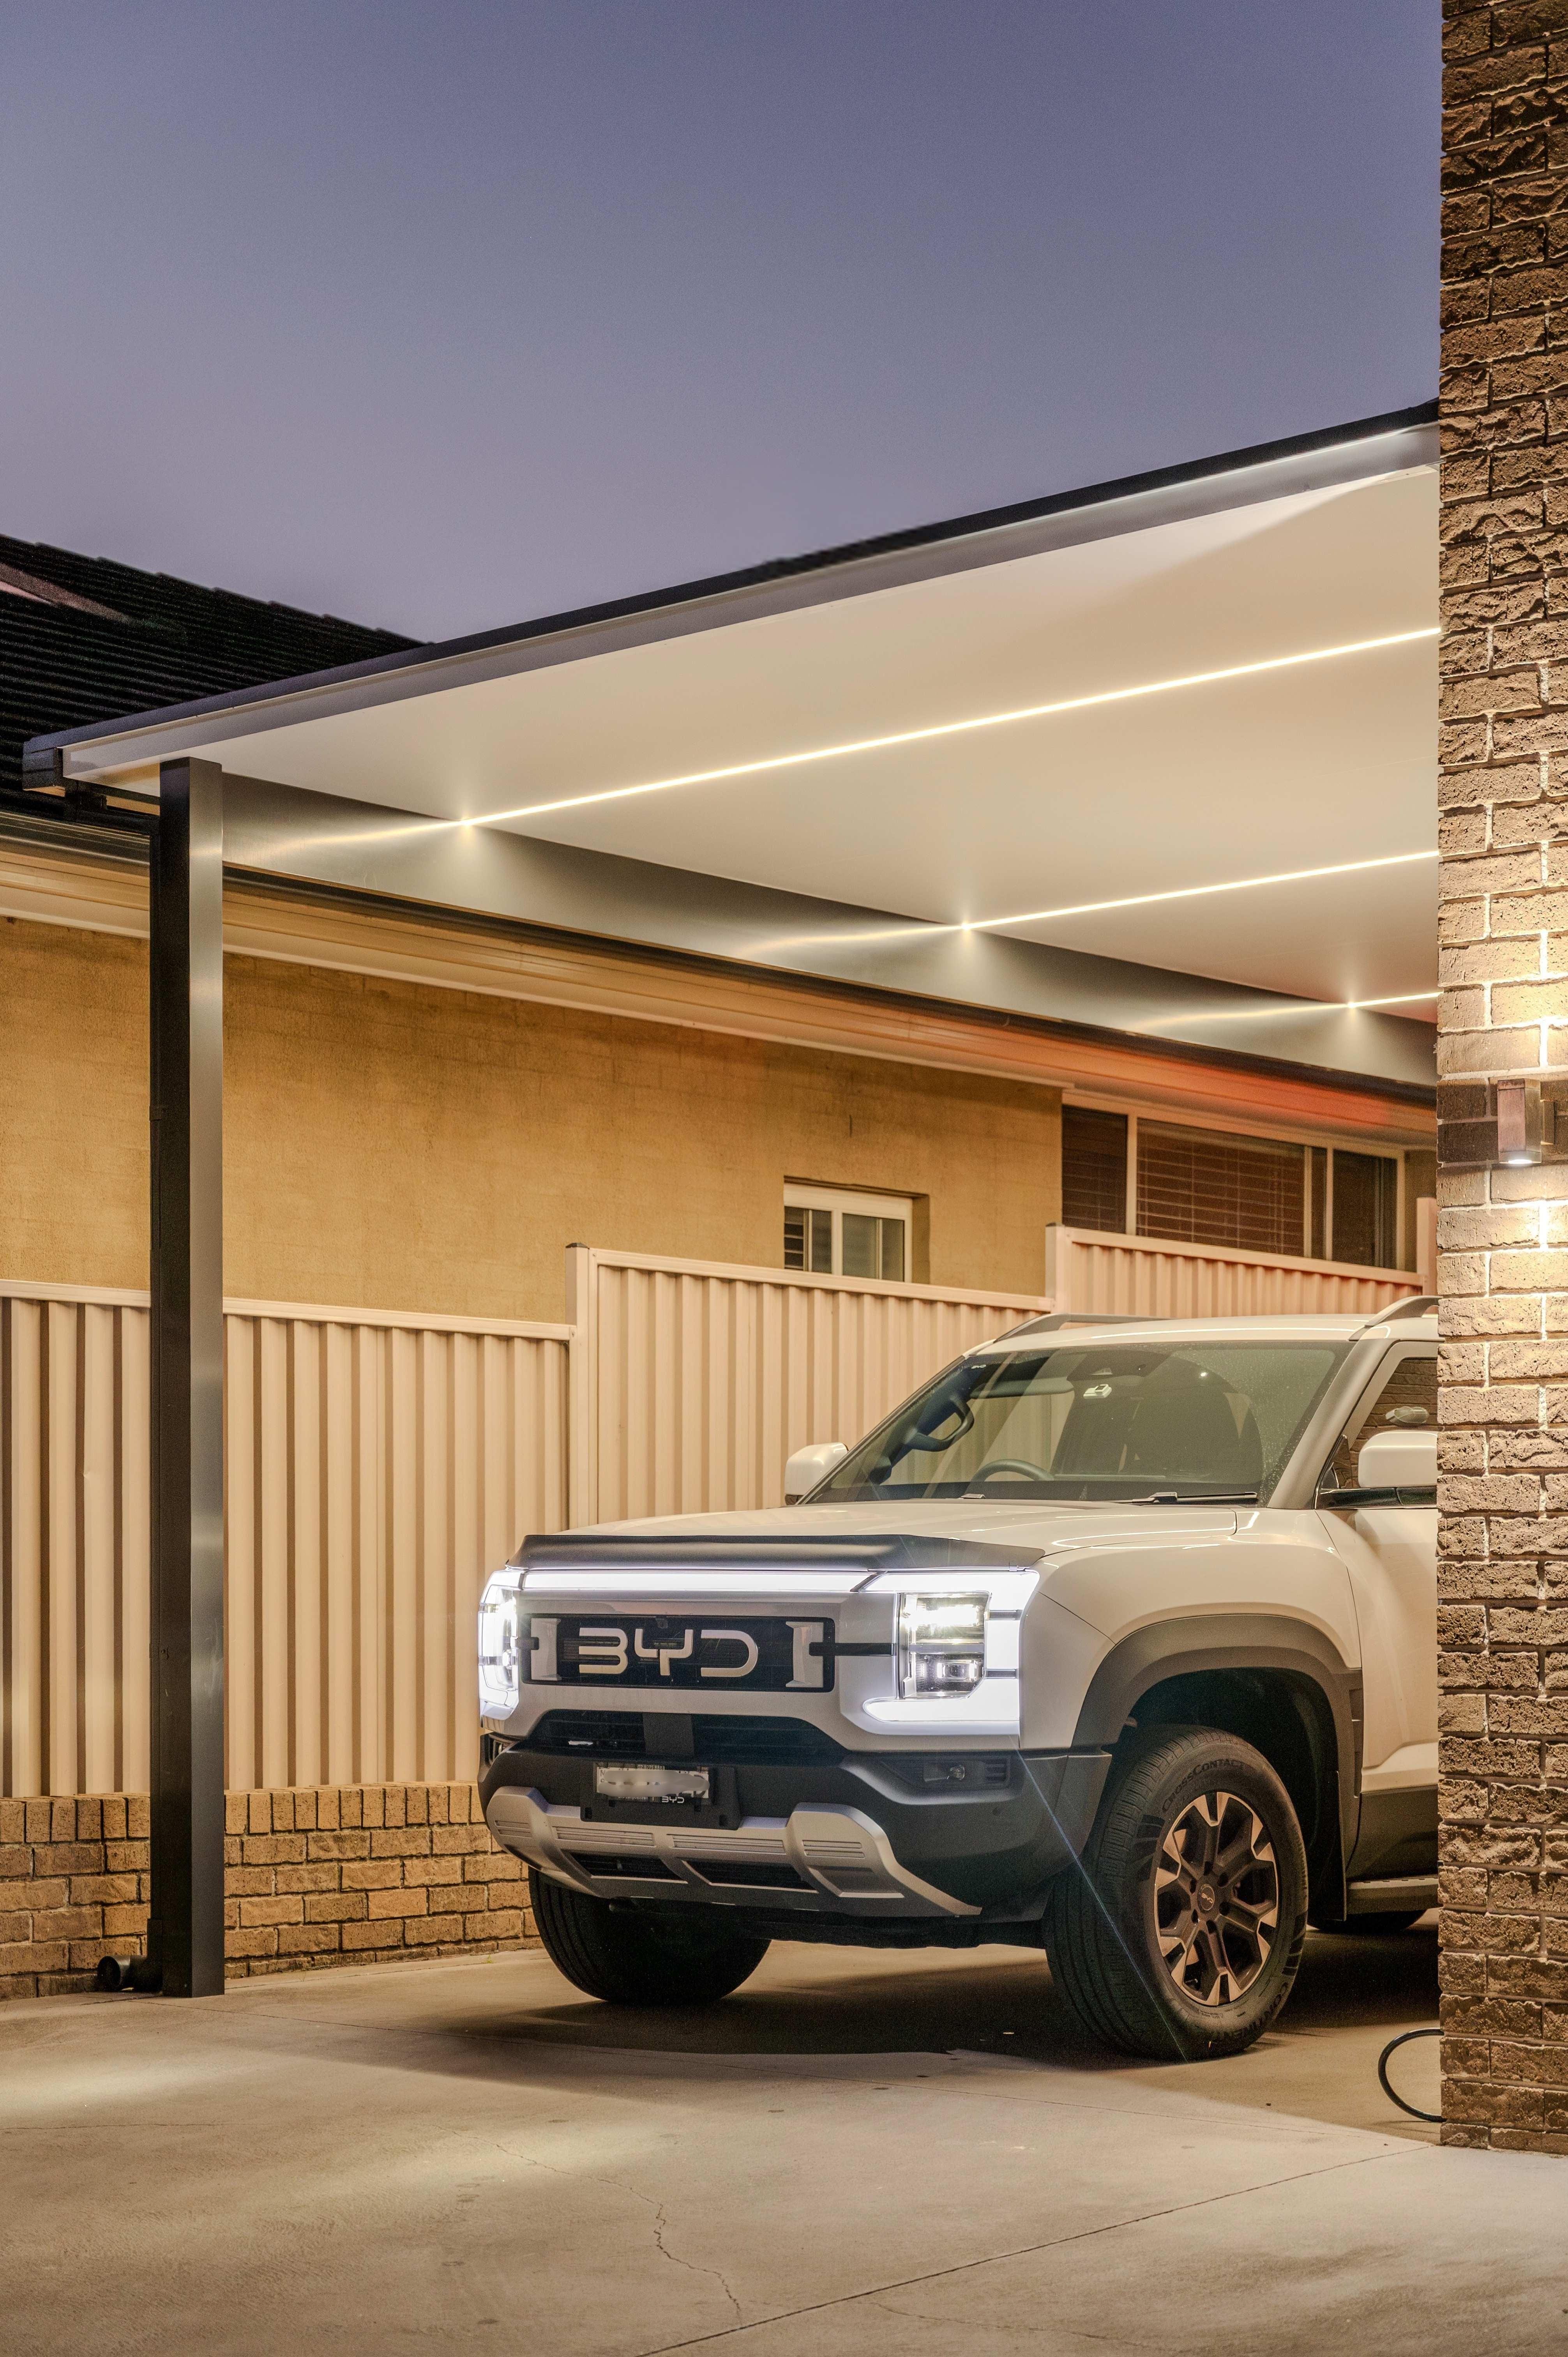
You also have the options to customise with accessories such as lights and fans, as well as add visual upgrades.
Ready to get started? Click to use our easy to use kit selector.
3. Payment
Once you have selected your perfect SelfBuild patio, lock it in with our easy and secure online payment. You have several options available to you including:
- Pay the full amount up front
- Pay a 50% deposit with balance due prior to dispatch
- Use Zip Pay for flexible, interest-free instalments
- Use PayPal from your bank or credit card account
4. Contact from our Team
Our team personally review every order to ensure your SelfBuild Patio will work perfectly in your space.
As part of this process, you’ll receive a phone call the next business day after placing your order to confirm your site conditions, answer any questions and make sure your kit will work perfectly in your home.
5. Manufacture & Quality Check
We custom-make your premium Versiclad insulated roof panels in our own factory. Every accessory is packed together, and each component is carefully checked for quality and precision before it leaves our floor. Most patio kits are ready for delivery within 7–10 days.
6. Delivery to Your Door
Get ready – your SelfBuild patio is ready for delivery. Our dispatch team will call you to arrange a suitable time for delivery. Your SelfBuild patio will arrive on one of Versiclad’s specially customised trucks, driven by our own experienced delivery team, not a third-party carrier. This means we control the process from start to finish, ensuring your patio kit arrives in full, on time and in perfect condition.
Our driver will call ahead when they are on the way, and everything will arrive together in one single delivery, ready for you to start your project.
Building Regulations and Council Requirements in NSW
Council Approval
Before you begin your Self Build Patio project, it’s important to understand state building regulations to ensure compliance and avoid costly mistakes. Under NSW Government guidelines, a patio may qualify as an exempt development if it meets certain criteria. It is important to note that requirements can differ between councils, so always check your local council’s rules or contact them directly to confirm what applies in your area.
To help get you started, below is a link to NSW Government website that outlines details for an exempt development. Below is a summary of the key structure designs that would meet these requirements, however, it is important to clarify with your local council regarding your own project.
External additions — such as patios or balconies — to a development must meet State Policy requirements to be exempt from planning consent, including not:
- being located beyond the building line of any road frontage, and must be located from the lot boundary by at least:
- 5 metres (if located on Zone RU1, RU2, RU3, RU4, RU6 or R5)
- 900 millimetres (for any other zone).
- having an area of more than 25m² causing the total floor area of all such structures on the lot to be more than 15% of the ground floor area of the dwelling for a lot larger than 300m²; or 25m² for a lot up to 300m².
- having an enclosing wall higher than 1.4 metres
- having a floor height of more than one metre above the existing ground level
- being more than 3 metres at its highest point, above existing ground level.
Source: NSW Government
If your project does not meet the requirements for an exempt development, you’ll need to supply a variety of information for your permit application. This may include a mix of the following:
- Architectural drawings
- Structural engineering reports
- Material details
- In some cases a site plan showing your property layout and the patio’s proposed location.
We're here to help.
When you purchase a SelfBuild patio, you will be provided with a structural engineering certificate, specific to your build, which can be included in your submission to council.
Should you have any questions or concerns about your SelfBuild patio, our dedicated team is happy to assist. Contact us to speak to one of our friendly staff.